10 Tips for Better Black and White Photography
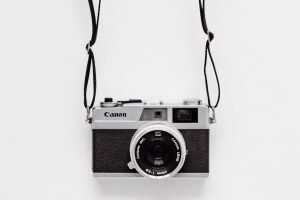
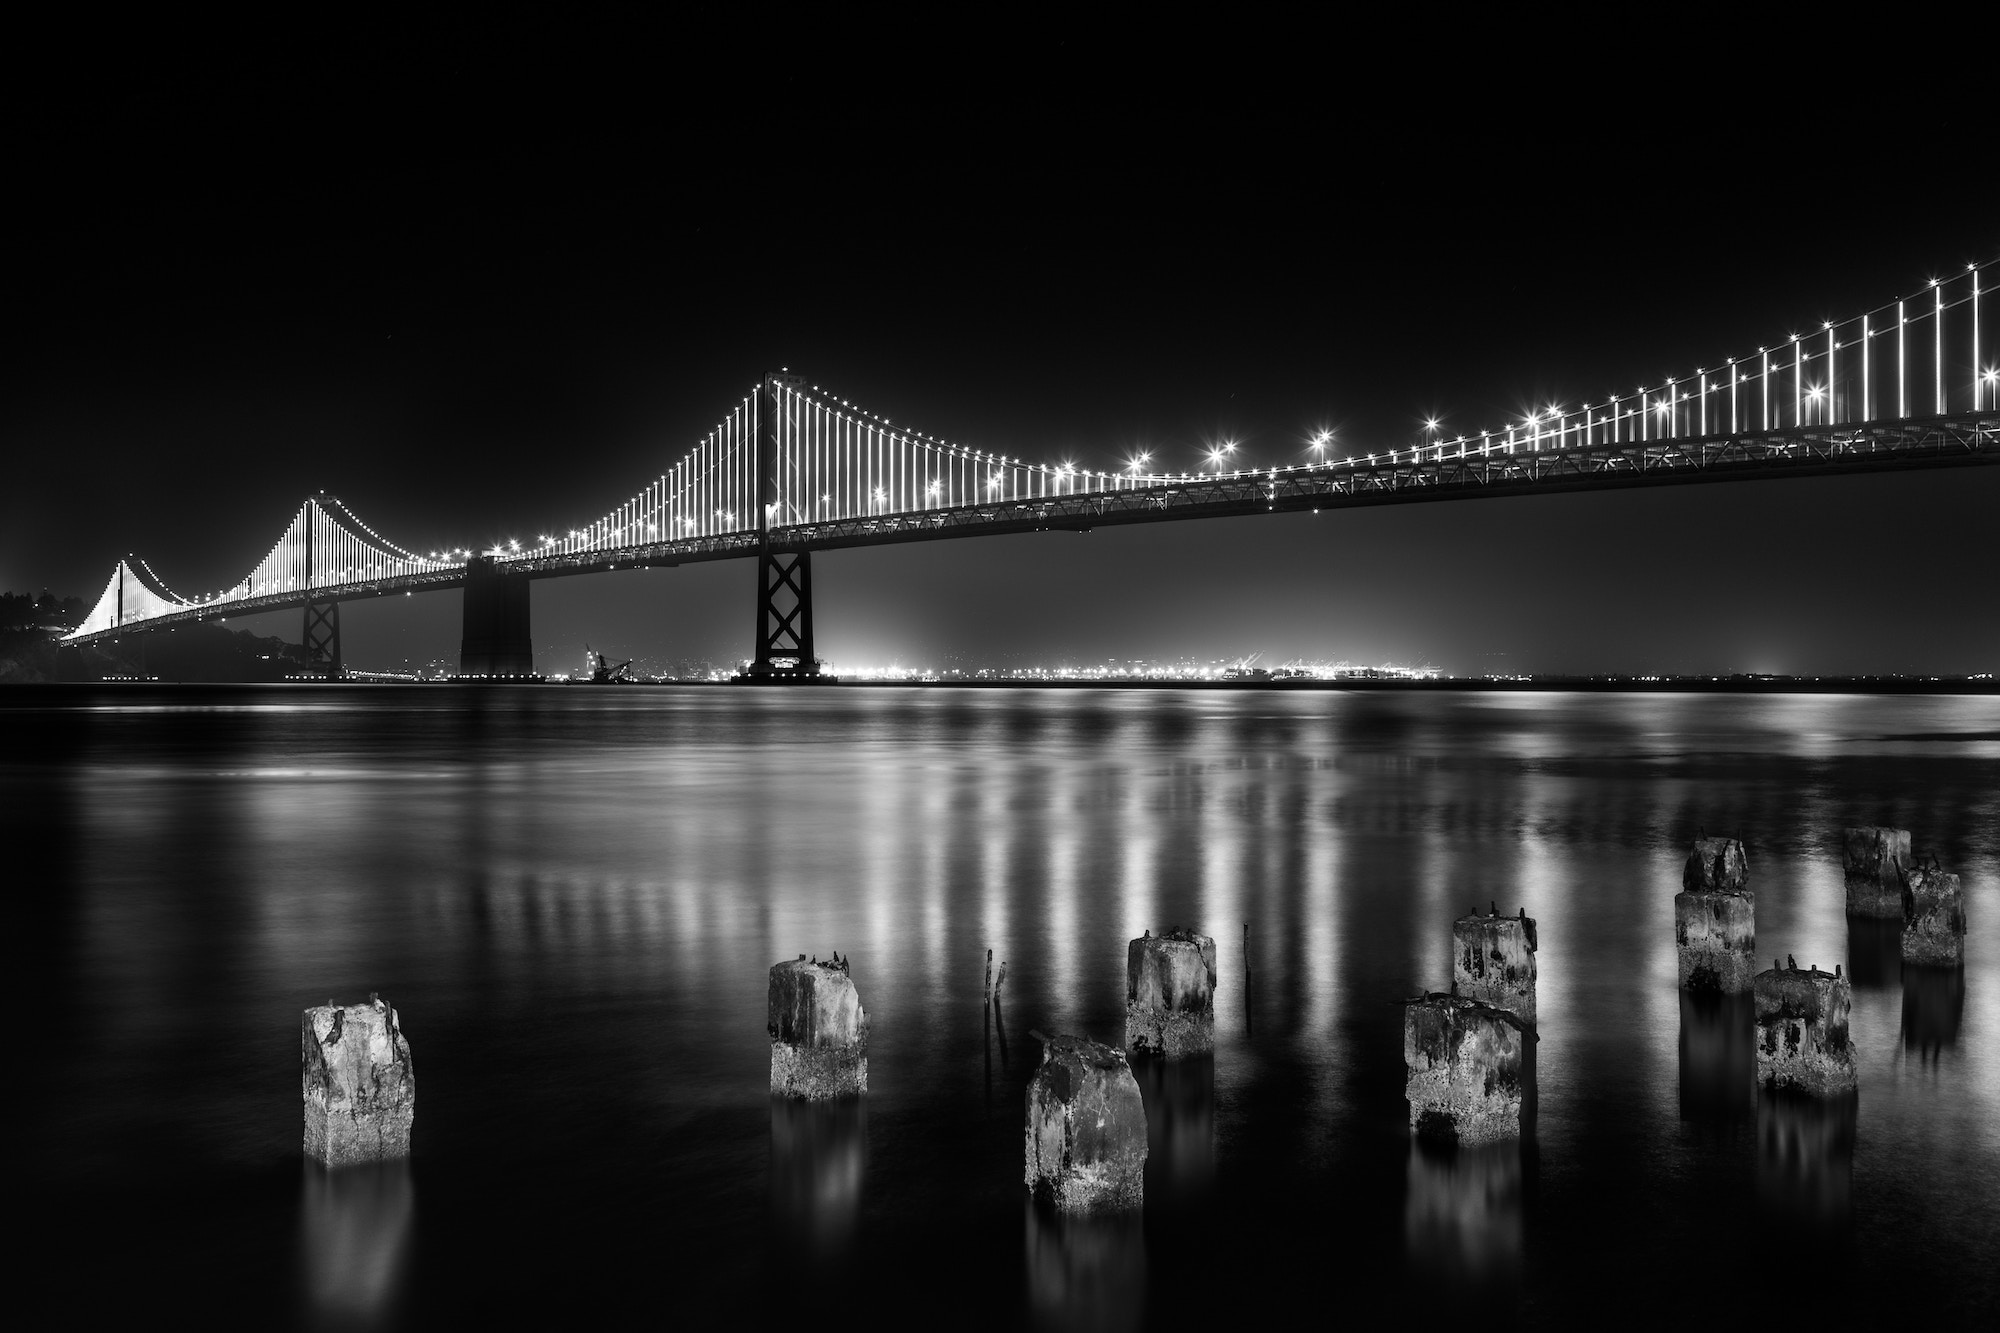
Black and white photography
Here are 12 tips that will help you shoot better black and white photography:
- Plan your Shot in Black and White.
- Consider Your Lighting.
- Shoot in Raw and Black and White (if you can).
- Use a Polarizing Filter.
- Look for the Abstract.
- Overturn Expectations.
- Use HDR.
- Find a White and a Black.
- Use Colour Filters or Edit with Color Filters Afterwards.
- Dodge and Burn.
Approach shooting with black and white in mind. Don’t just aim to take a nice photo, aim to take a black and white photo. Think about your shot as it would look in black and white by considering the lines, shapes, patterns, textures, shadows, light, and shapes.
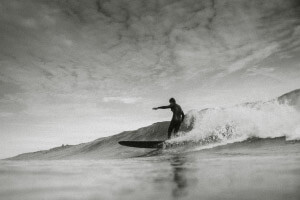
Remember that the lighting in your shot will now convey contrast, rather than colour. Overcast grey days can convey gloominess in a colour photo, but might convey calmness in a black and white photo. A photo taken during golden hour might look warm when shown in colour, but will show sharp contrasts when converted to black and white. Intensity of lighting can convey different emotions. Softer contrast and a larger range of greys can give your photo a calmer look, whereas sharper contrast with more dark blacks and whites can give your photo a moodier or dramatic look.
One way to make thinking in black and white easier is to actually shoot in black and white, so when looking at the image you are taking on your camera’s viewfinder, you will be able to see them in black and white. Shooting in raw is good for a number of reasons, but for black and white it is important for maintaining high quality of your shot, for the smoothest possible grayscale, and to make editing colour filters and white balance later on much easier. (If you are shooting analog, using a phone, or certain types of cameras, you may not have these options).
A polarizing filter is used to reduce glare of reflective surfaces. They are most useful when shooting water, wet surfaces, glass, metal, or anything else than can produce glare. Polarizing filters are important for much of photography, but they are even more important when used for black and white as glare can tend to stand much more in black and white photos. There are some cases where you will want to use a polarizing filter, you can read more about using polarizing filters here.
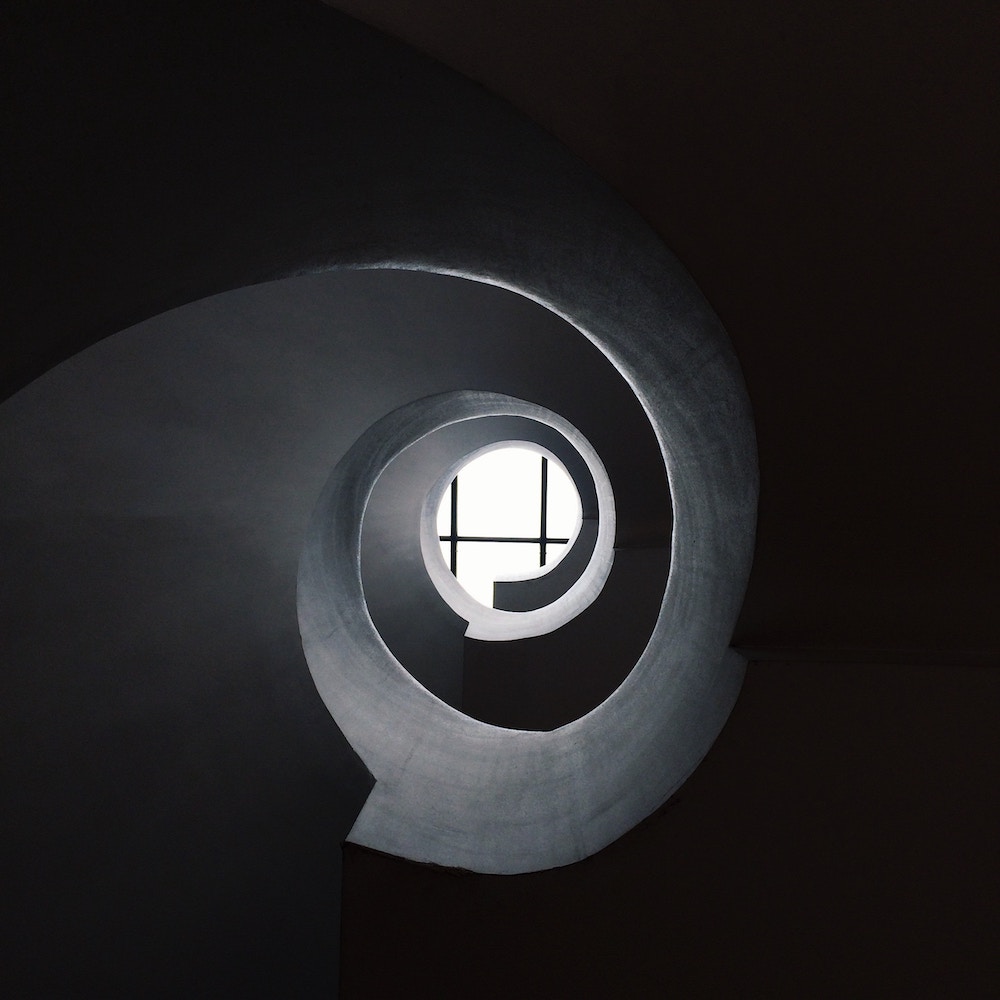
Abstract images can do very well in black and white, as we are able to focus on the lines and textures of the image rather than the colours. By shooting in black and white you can make regular textures become abstract. Think about negative space, lines, patterns, darks, and lights, and texture. Try shooting something very close up to get a new and abstract perspective.

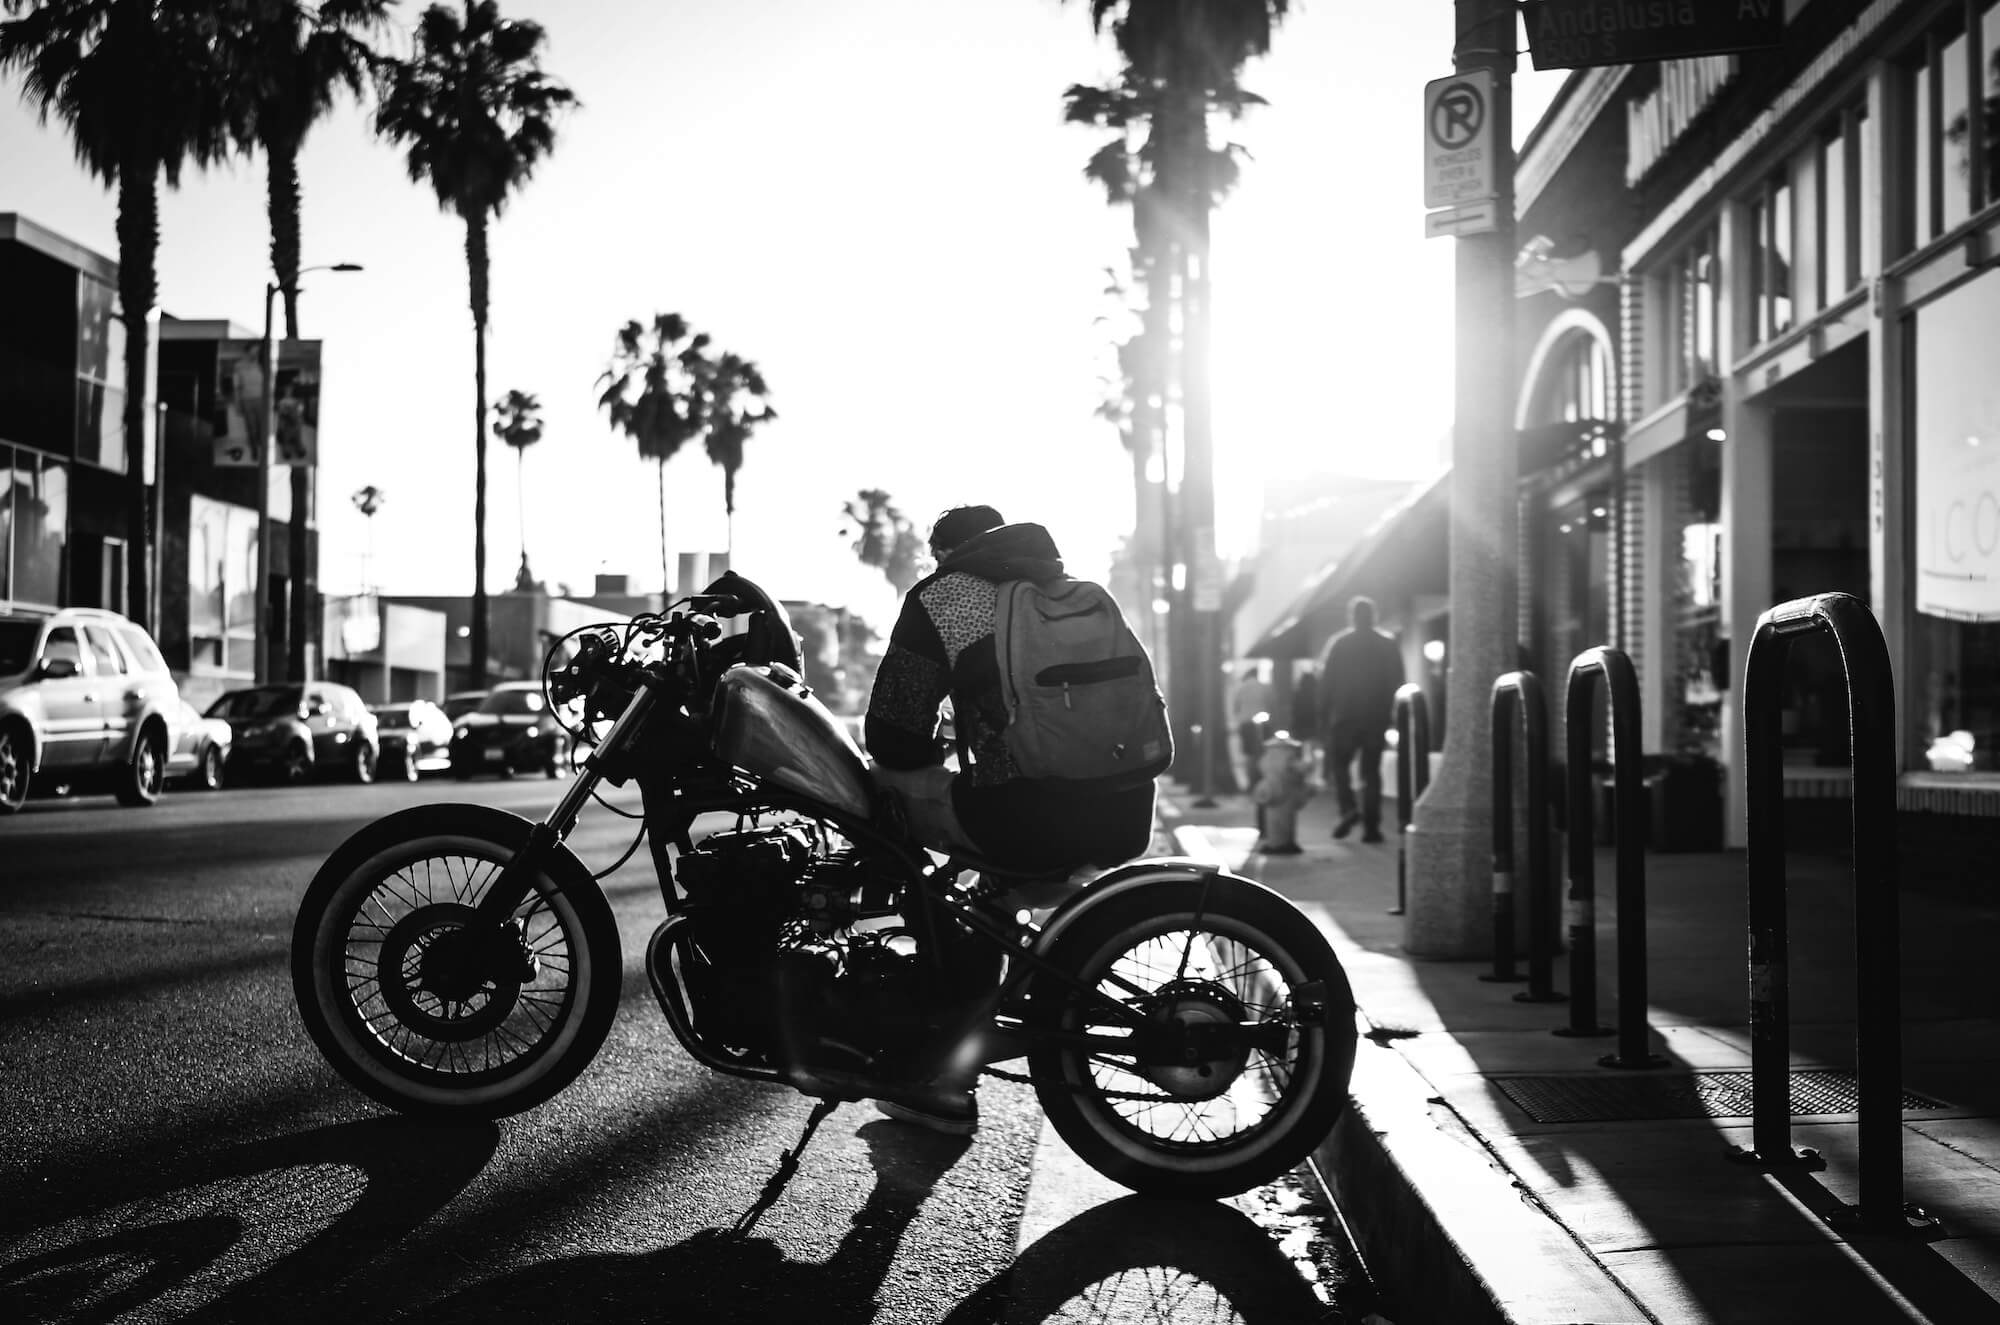
The best black and white shots are rarely of something that was already close to black and white to begin with. Often, it is of something that we would expect to see in colour. When colour is removed the viewer focuses on other elements of the subject that they might not have noticed before, this is especially true for something with vibrant colours that normally would distract from other textures and patterns. The image that is most strongly transformed by black and white is usually the most exciting.
When done properly, HDR can be beautiful, especially with black and white as it is about perfecting exposure levels in all areas of the photo. To shoot for HDR, read our article on how to shoot HDR. Reminder: don’t use an HDR filter or HDR tool, actually shoot for HDR.
Your photo should have at least one true white and one true black. If not, it is either too bright, too dark, or too grey. This is a basic rule of black and white photography which helps you ensure you have the right amounts of contrast.
You can control the tones of the black and white by using colour filters. If you know exactly what you are looking for in advance, you can apply a colour filter to the lens of your camera, or you can edit this in an image editing program afterwards. To find out what colour filters can do for your black and white images, read here.
Dodging and burning means making certain areas of your photo lighter and darker in an editing program afterwards. You can do this to emphasize certain parts of your photos by lightning them, de-emphasize other parts by darkening them, and fake more dramatic contrasts and shadows.
-- article by: Rosalind.